Tutorials / TECHNICAL
The Aperture setting
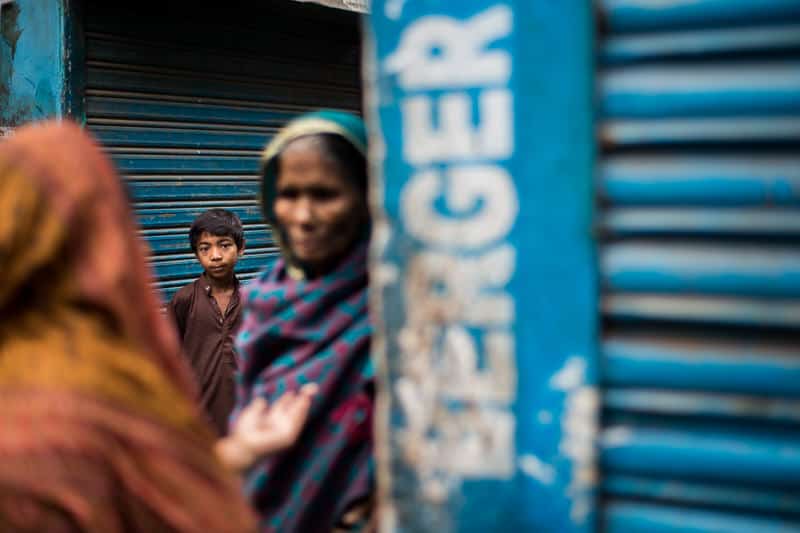
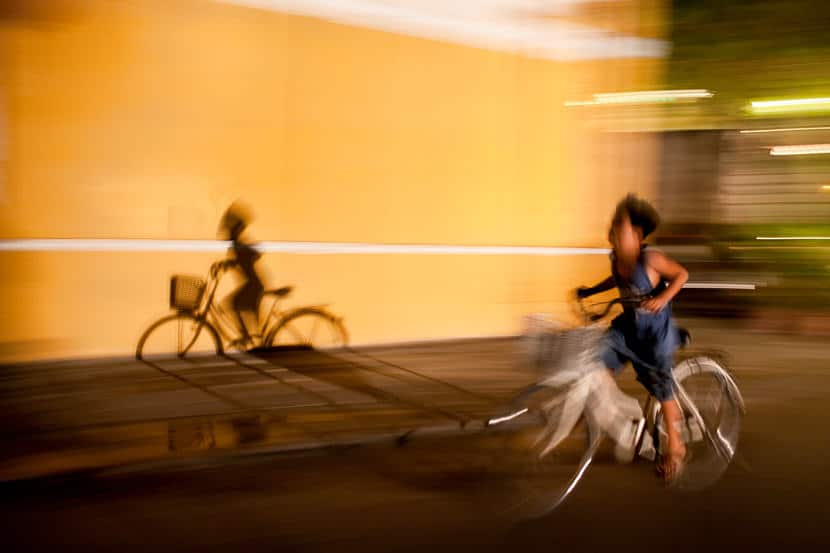
The Aperture or F-Stop controls how wide the iris in the lens opens, the smaller the number the bigger the aperture opens, while the bigger the number the smaller our aperture opens (confusing? Not at all!!) We can control 2 things with our aperture: Firstly it controls the amount of light hitting our sensor – wide aperture we get more light faster or small aperture we get less light slower, as a result, this has a direct effect on what shutter speed we will need to use to obtain a proper exposure. If you are confused, compare this to your mouth breathing air: the wider you open, the more and faster the air comes in. The more you close, the slower the air comes in. Well, same same for the aperture and the light! Secondly it controls our depth of field, a wide aperture gives a shallow depth of field (only what you focus on will be in focus, the foreground/background will be blurry *great for portraits*) while a small aperture gives a deep depth of field (foreground all the way to background will be in focus *best for landscapes*) Cameras used to only have full F-Stops eg.1.4 2.0 2.8 4 5.6 8 11 16 22 – whilst appearing arbitrary these numbers do have a reason, they are numbers which represent a ratio between the diameter of the aperture in the lens and the focal length of the lens. You can actually work this out using a formula but I wont go into that now, more importantly for us photographers is to understand that each of these stops lets in half the light of the one before – so 1.4 is the biggest aperture here, 2.0 is 1 stop smaller and lets in half the light 1.4 did, 2.8 half the light of 2.0 and so on. Our digital cameras today still use these full stops but we now also have ½ stops and 1/3 stops so more numbers to make it more complicated! But just remember the full stops and that each one is half the light of the one before and then these ½ or 1/3 stops are just fractions of these full stops. Many people often have the misconception that using a tiny aperture eg. F22 or even F32 will increase the image sharpness, this is actually incorrect, our lenses are generally the sharpest at the midpoint of your aperture range – so around F8 to F13 will get you the sharpest image possible. The loss in image sharpness with very small apertures is caused by diffraction, if you shoot with a tiny aperture the beams of light coming into your camera are actually diffracted by the edges of the iris in the lens – making your photo less sharp. All right, enough with technical stuff. Let’s get into practical things! “Controlling your depth of field is the best way to cope with a poor light or boring situation!” If you print a photo, it is flat, a piece of paper. There are many ways to make this flat photo look more “real” and 3 dimensional, giving depth to it. And one of the best ways to do so is to control your depth of field. This is what the Aperture does. And it does it pretty well! During the workshops we recommend people to shoot in Aperture mode, which makes it a bit easier and faster than the Manual mode. When you set up your aperture, the camera will measure the light and calculate then which shutter speed you need. Thus you always have a correct exposure to your photo, and you only have to worry about the size of your aperture, and which depth of field you want to obtain. Photos which have a very shallow background always look more attractive and beautiful that flat photos. People generally like the style it gives to the photos. I am not saying here that this is the only and best thing to play with in travel photography! Doing too much of it is… well just too much. Even though portraits look great on a big aperture (having only the eyes in focus and the rest of the face blurry) try not always to shoot with the biggest aperture. First, because you might miss some interesting details on the background, or foreground. Second, because your lens is not as sharp as when it is narrower (f5.6 – f13), and it creates some vignetting (“But I like vignetting!”). Ok, but not too much, and not always. Always shooting with your widest Aperture is not recommended as your photos get softer and have a stronger vignetting During portraits, your subjects are always enhanced when the background is out of focus. The only sharp area is on your subject’s face thus having the eyes focusing on it. I have another blog post about how we can play with this lens blur to give a soft feeling to our subject. For landscapes though, you might want to close your lens half way (f11 or f13) to give the whole photo a better sharpness. Another reason why you would want to close your aperture dramatically, is if you want to have a slow shutter speed (for panning maybe?). One more reason why I love my fast lenses, having aperture sizes of f1.4 or f1.8 (not f1.2 yet!). And by the way, this is why it is called “fast lenses”: having a wide Aperture, the light comes in faster and gives you a faster shutter speed. So there you go, knowing all about Aperture. Now it is about going out and practice, shooting wide open, shooting with a very narrow aperture, and see what is more convenient for each situation. Looking at the photos I usually post, you know where my preference is! A great Youtube video explaining everything about Aperture and depth of field: http://www.youtube.com/watch?v=34jkJoN8qOI#t=526 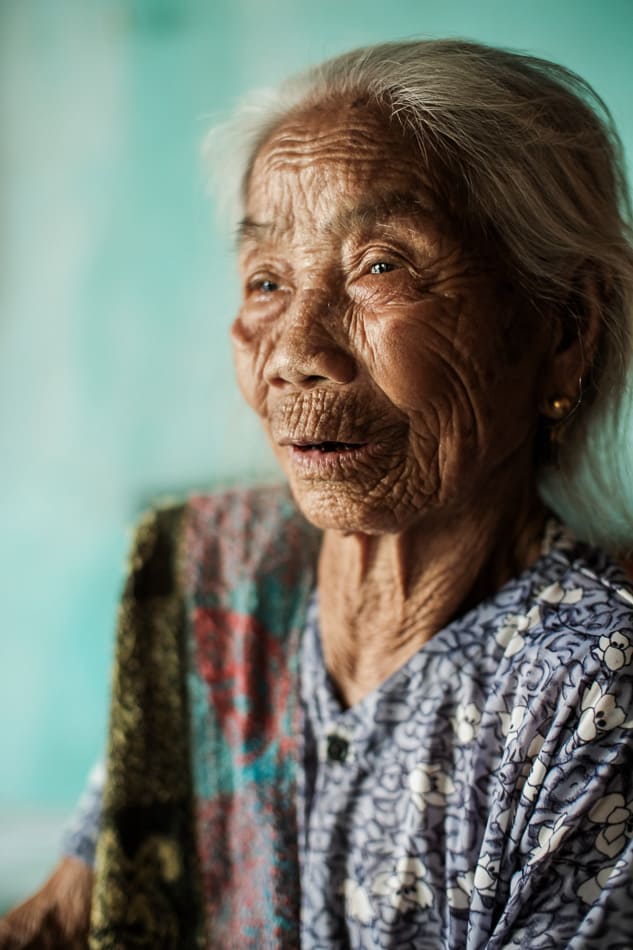


[…] how can we be creative using the lens blur of our depth of field (thing we do playing with our Aperture, […]
[…] your lens at f2.8, f1.8 or more will make things easier. If this confuses you, check out this article on Aperture. If a fast lens is missing from your equipment, you can also stat doing panning: […]
[…] more control over your photos than simply leaving your camera in auto mode. Besides, there are only 3 things you need to know to be in total control of your camera, […]