Tutorials / TECHNICAL, ALL TUTORIALS
Playing with the shutter speed
Over the past decade, I must say we have been spending much more time talking with our students about aperture and depth of field rather than shutter speed. Because we focus our tours and workshops on people photography in Asia, and because our main interest is to teach people about composition and capturing moments, camera settings are not our priority. There are, though, great things you can do when playing with your settings. We have already discussed the use of aperture (LINK) and ISO (LINKS). We do talk to our students a lot about the aperture because this one allows us to control our depth of field, which can greatly vary when doing people photography. We can be switching from f8.0 to f2.0 within seconds if our scene evolves. When doing landscape photography, photographers are less creative with the use of their apertures. After all, in landscape photography most of the image (in general) should be sharp, meaning photographers often use small apertures (f8.0, f11). We can see and learn of a great deal by looking at landscape photography when it is about playing with the shutter speed.
To put it abruptly here and in a very simple way: the shutter speed will allow you to either freeze or blur elements in your frame. I might blow your brains out here, but the shutter speed is actually the speed of your shutter. Amazing, right? Well, what does this mean?
It means it is literally how fast will your camera takes the picture. It could do it in a fraction of a second, or it could let the light coming into the sensor for many seconds, even minutes or hours (like the pinhole cameras).
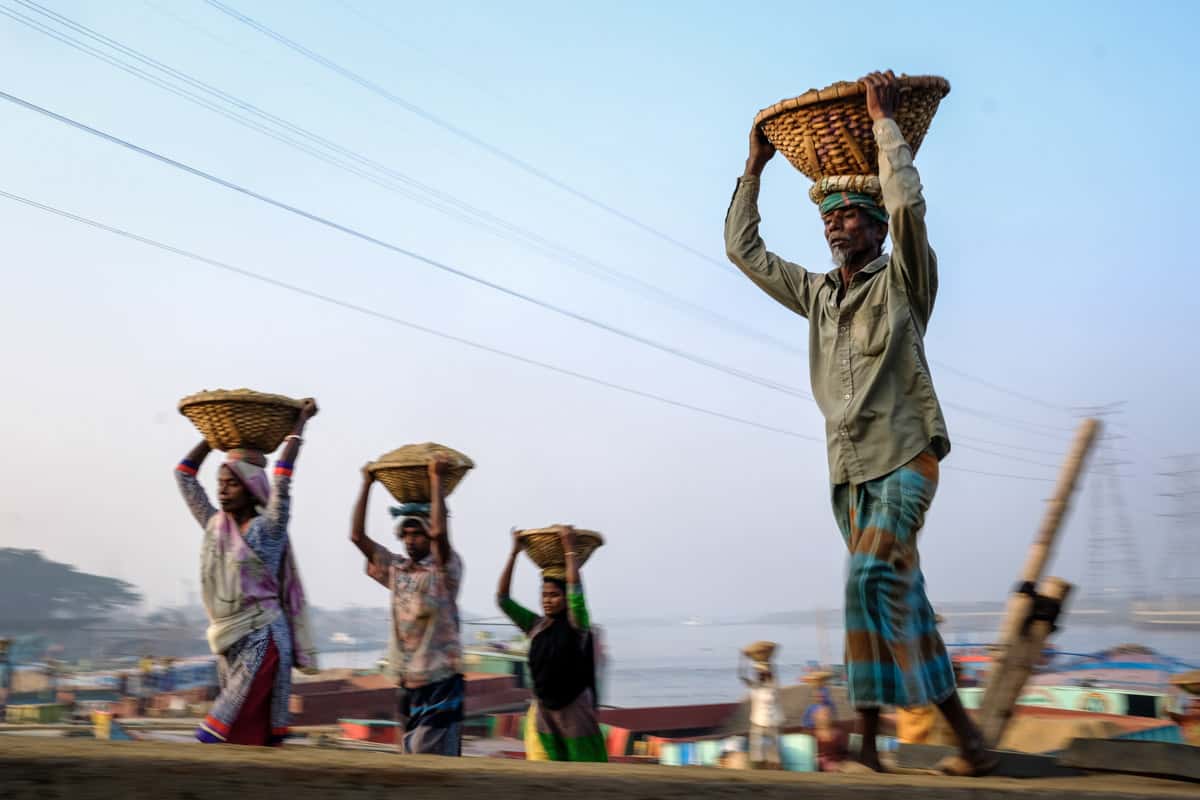
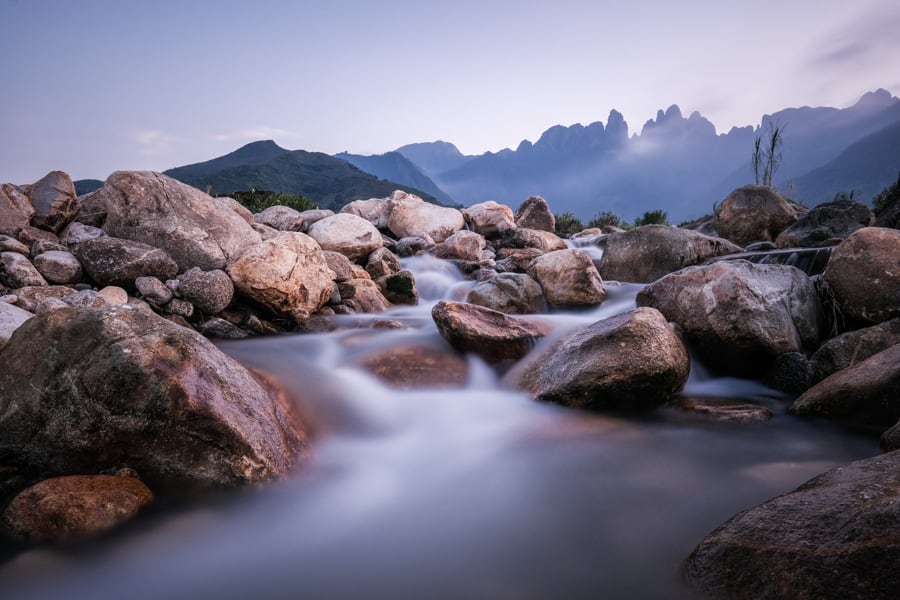
Generally, using a slower shutter speed (as to not freeze every element in your frame) when something is moving and something else isn’t moving will create a contrast between the sharp and the blur. And this can create great visual effects that can make your image interesting. This is, in my opinion, very well used by landscape photographers.
We also use slow shutter speeds when we want to give a feeling of motion, action and dynamism to the image. And this works very well when the action we photograph is busy, hectic, dynamic.
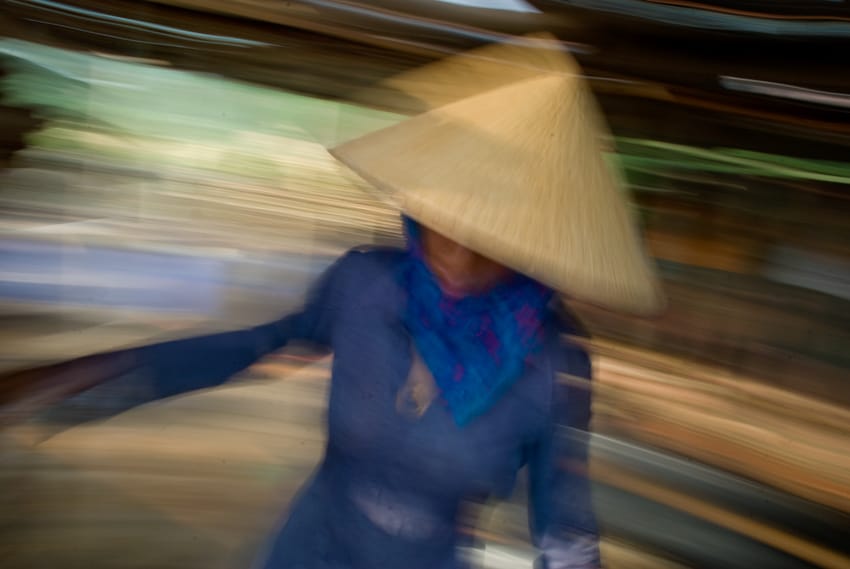
Another reason why to use slow shutter speeds is to create a certain mood. I experimented this myself when travelling through North Vietnam. I was trying to create moody images that reflected my mindset of the day, sitting in a car on a rainy day.
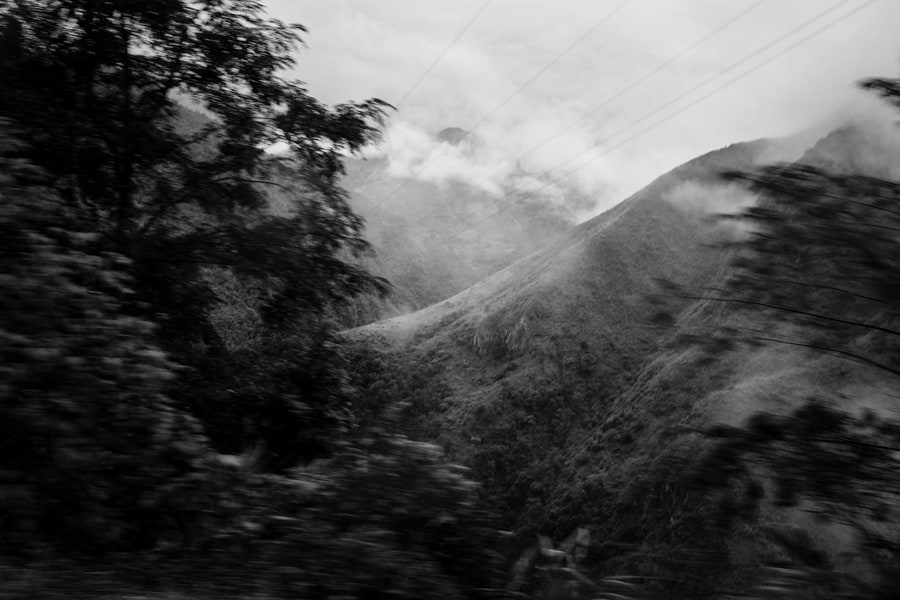
So as you can see we can be very creative using our shutter speed, and adapt different speeds for different situations. But how do you know what shutter speed to use for what situation?
Well, this all depends on what you are photographing and what you want to achieve. But let’s focus on people photography because this is what we do. Plus, you can find tonnes of online resources that will explain to you about the right shutter speed to use when doing landscape photography.
What we usually strive to do when walking around and taking photos is to keep our shutter speed above 1/60th of a second. This is a general rule of thumb, which has to be adapted to all the situations we face.
1/60th of a second is usually fast enough to freeze your handshakes. Of course, it depends on which gear you are using, because the longer focal length you use and the shakier it gets (imagine using a huge long lens, if you move a little bit your frame will also be moving, quite a lot). When using wider lenses, it is more forgiving. In which case we could use a shutter speed as low as 1/30th of a second or even less.
Using a minimum of 1/60th’s will allow you to get sharp images (if you or if your subjects are not fast-moving) by freezing your movement. Which means that you’d have to use even slower shutter speeds if you want to start creating other effects, more blur, whether it is in your whole frame or only on your moving elements. And we will talk about it later in this tutorial.
On the other hand, using very fast shutter speeds (which I consider being anything above 1/500th) will allow you to freeze the action. Of course, the faster your subject moves, or the fast you move, the faster the shutter speed you are going to need to freeze the action.
In this image, I used an extremely fast shutter speed of 1/1800th to freeze the earth and peanuts in the air.

And in order to know what minimum shutter speed you can use depending on your lens, you can always use the Reciprocal Rule. This rule states that your shutter speed should at least be equal or superior to your focal length (on full-frame equivalent). So using a 200mm lens will require you to have a shutter speed of at least 1/200th.
For example, on my Fuji Xt3 camera, I mostly use the 23mm lens. This is actually equivalent to a 35mm focal length due to the crop factor of my smaller sensor. This means my shutter speed should be at least 1/35th. But because I mostly photograph people, who are themselves moving, I usually make sure my shutter speed is above 1/60th.
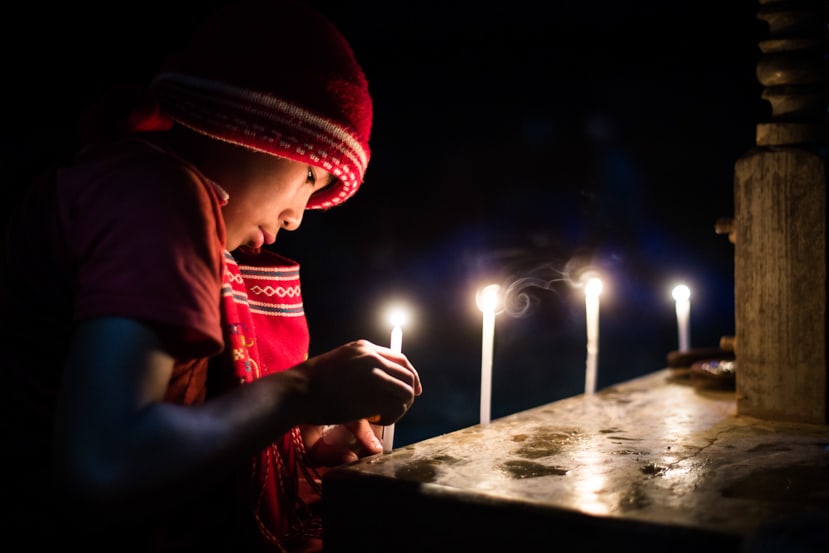
Nowadays, new technologies allow us to use slower shutter speeds, thanks to the image stabilization technologies. Whether your lens is stabilized or your camera, this will allow you to get sharp images even when using slower speeds.
If you’d like to get more into what exactly is image stabilization and how does it work, check out this video.
So when before, you had to make sure your shutter speed is always above 1/60th to capture a sharp image, you would now be able to go down to 1.30th, and even less.
Obviously, this depends on what you photograph. And even though you are on a tripod with absolutely no shakes, your moving subjects will be blurry when using slower shutter speed, whether your camera gear is stabilized or not.
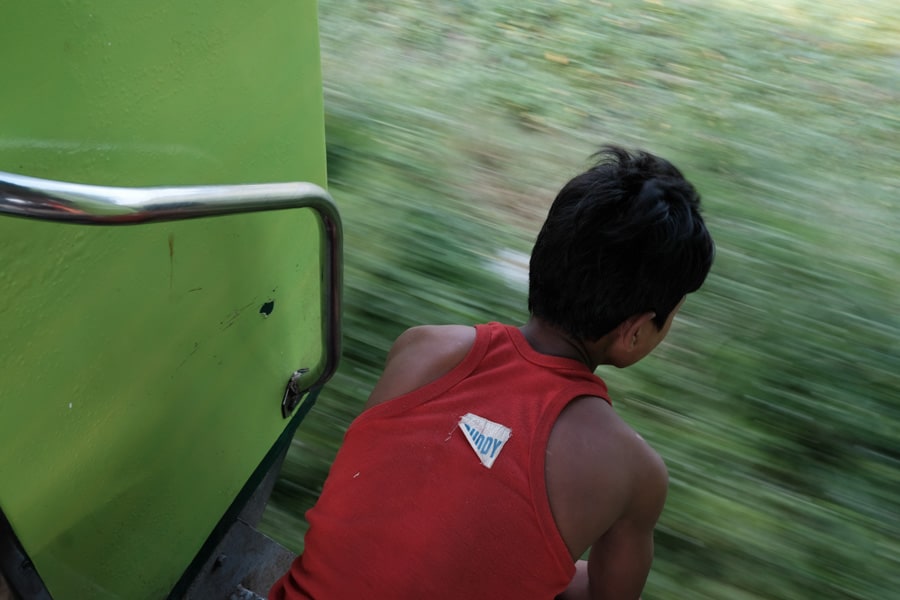
The image stabilizer allowed me to shoot with a slower shutter speed
There is actually a shutter speed mode on your camera (called Tv with Canon, and usually S or SS with other brands). This allows you to directly control your shutter speed while letting the aperture (and potentially the ISO) set automatically.
This is the easiest way to control your shutter speed but this is not necessarily the best. By staying in shutter speed mode and trying to slow or fasten your shutter speed, you may end up with mistakes in your exposure.
For example, if you try to have a very fast shutter speed in a dark place, you may face issues. Your aperture will open to the widest to let as much light in as possible, and your ISO will get very high to compensate for the lack of available light. And if these are not enough, your sensor will still not be receiving enough light and your image will come underexposed.
We could also use the Manual shooting mode of our cameras, but this is something we don’t often recommend here in Asia when doing people photography, as our scenes can be fast-moving with dramatic changes in light in a very short time (think about people coming in and out of a building, or shooting facing the light vs with the light behind). Being on Manual mode slows us down and is not ideal for these types of situations.
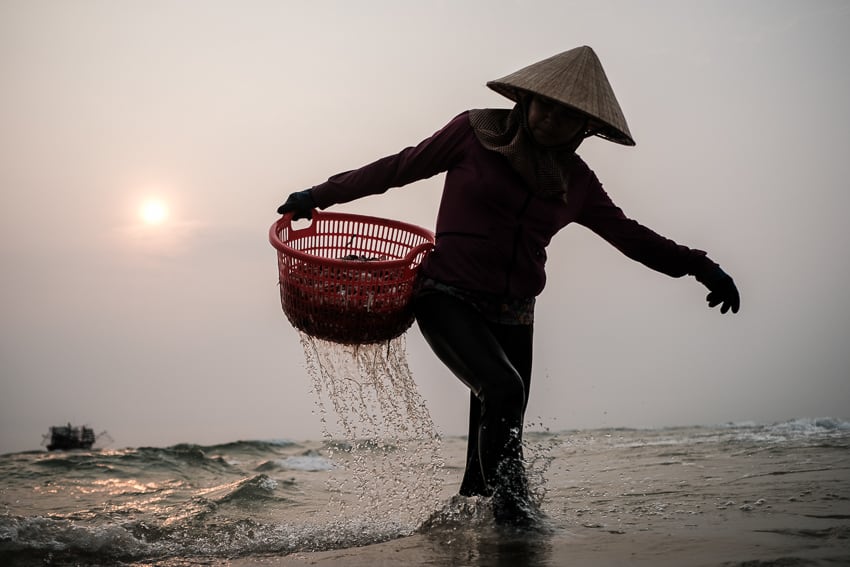
My own favourite way of controlling my shutter speed is to shoot in Aperture mode and Auto ISO, but having control on what shutter speed my auto ISO will produce.
Let me explain: today most camera manufacturers give you the option to actually set limits to your auto ISO (if your camera brand does not let you do that, just change!).
On my Fuji cameras, I am able to set 3 different auto ISOs. I can control how low or high I am ready to push my ISO, and what minimum shutter speed do I want these ISOs to give me. So if I set my minimum shutter speed to be 1/60th, I know that my ISO will always go high enough for me to get that minimum shutter speed, unless of course, I am in a place which is too dark.
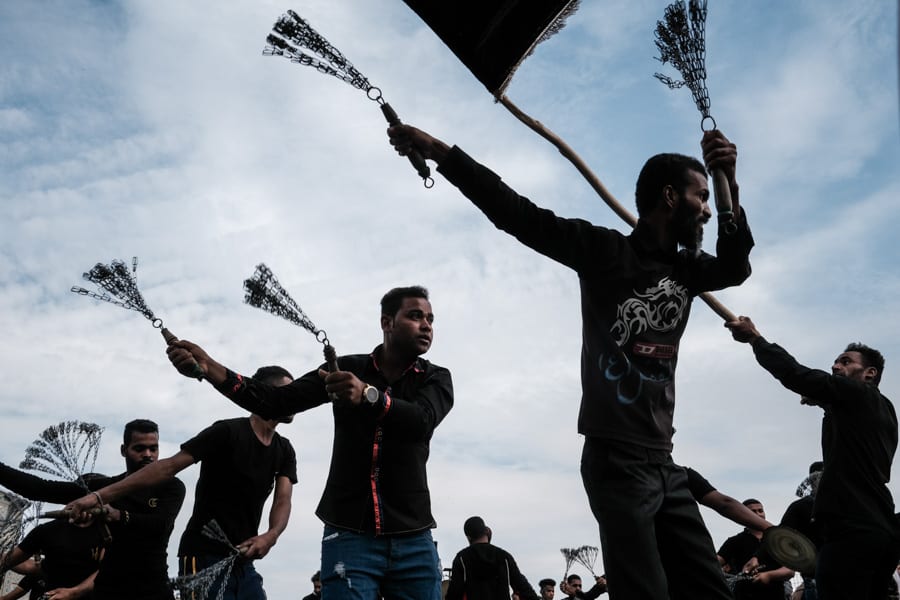
This allows me to let the camera do all the boring exposure calculations, but still keeping control on the final settings. I control the aperture, and I know what my minimum shutter speed is going to be. If suddenly, I am faced with a very fast-moving scene, I can simply change my auto ISO to another setting, which will, for example, give me a minimum shutter speed of 1/320th and thus freeze the action. And I can do this in only one push of a button, instead of going back into the settings or even worst, the menu!
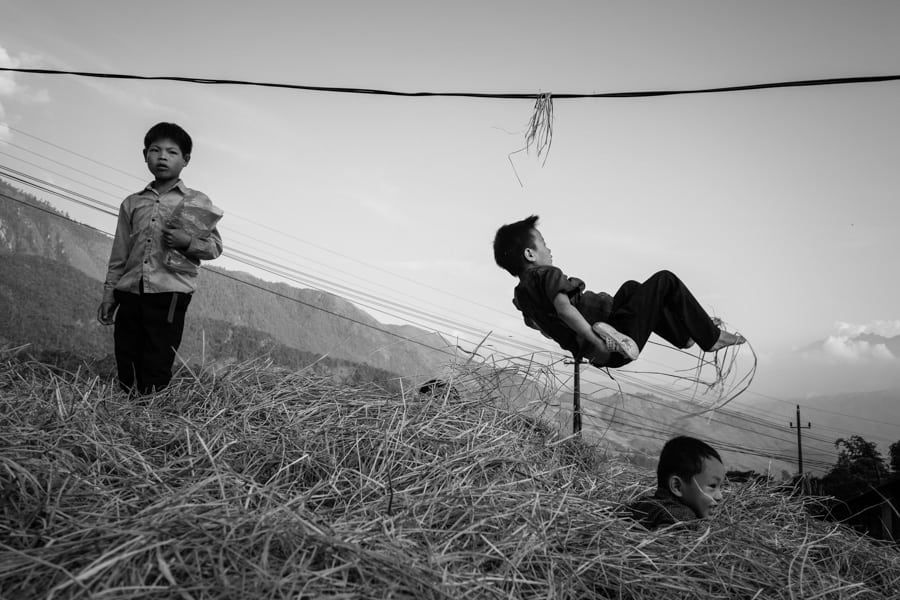
One thing to also keep in mind is that you won’t be able to slow your shutter down on a very bright sunny day. By doing so, your aperture will close down as much as it can and your ISO will drop to its lowest. Still, there will be too much light coming on the sensor and your image will be overexposed.
There is a great remedy to this: ND filters.
ND filters are basically dark layers of glass that you add in front of your lens. These will dramatically reduce the amount of light coming in (just like sunglasses) and allow you to create long exposures even for the brightest scenes.
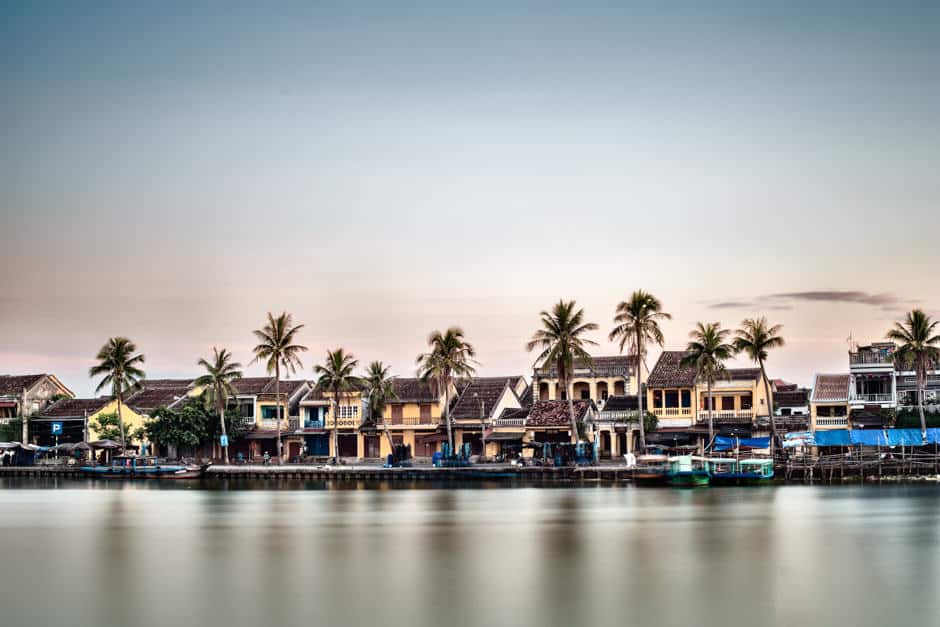
Another thing we can do creatively with slow shutter speeds is Panning. I have already written a tutorial on this technique here.
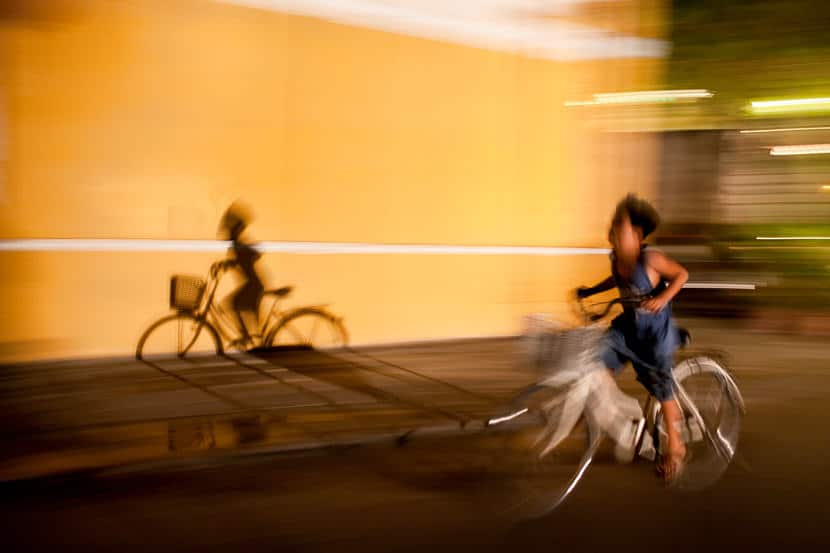
As I said earlier, you can be creative with your shutter speed to create different end results. Whether you are trying to blur one element in your frame, or all of your elements, or keep only one element frozen, there is a lot we can do.
Here are some examples of images where I used the shutter speed to come up with different effects:
Create dynamism and a feeling of action
One of the first reasons you could play with your shutter speed is when trying to depict a dynamic scene. Adding movement blur to your subjects will make the viewer feel that they are going fast, things are moving a lot.
This works really well when, for example, taking photos of traffic on the road.
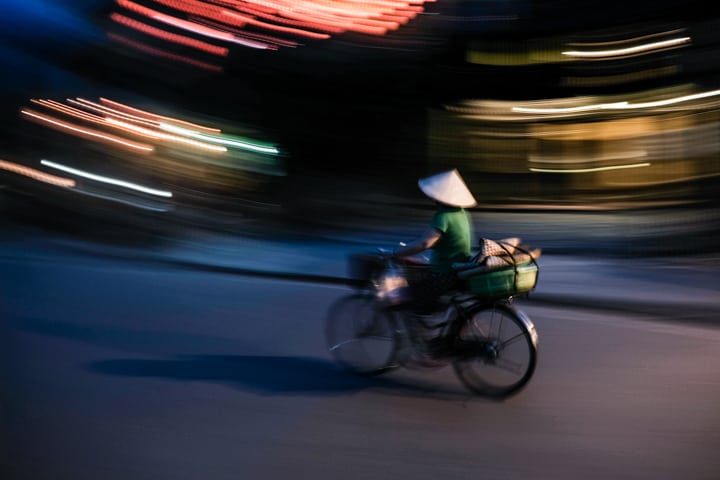
Showing a busy place and making it feel busy
It’s a very similar idea as the one before. Using slow shutter speeds in your images and thus creating motion blur will make a scene look busy.
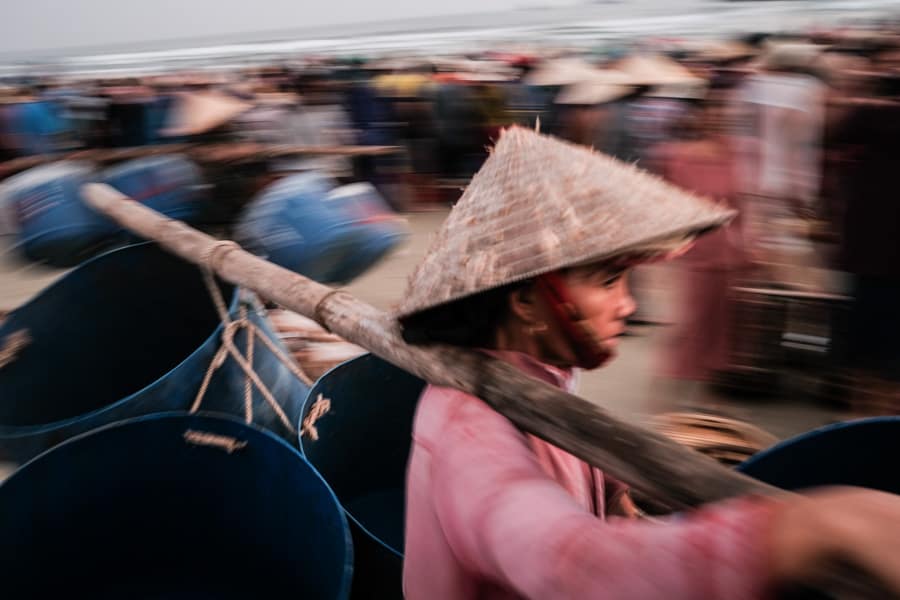
Showing the elements in our frame that are not moving
You may recall seeing images of train stations, where a crowd of people is blurry but one person in the frame is sharp? Well, this is one more thing you can creatively do when playing with your shutter speed. The difficulty here is to find the right scene, with only one or two static elements.
This can also be used when facing road traffic, finding a static element among the moving vehicles.
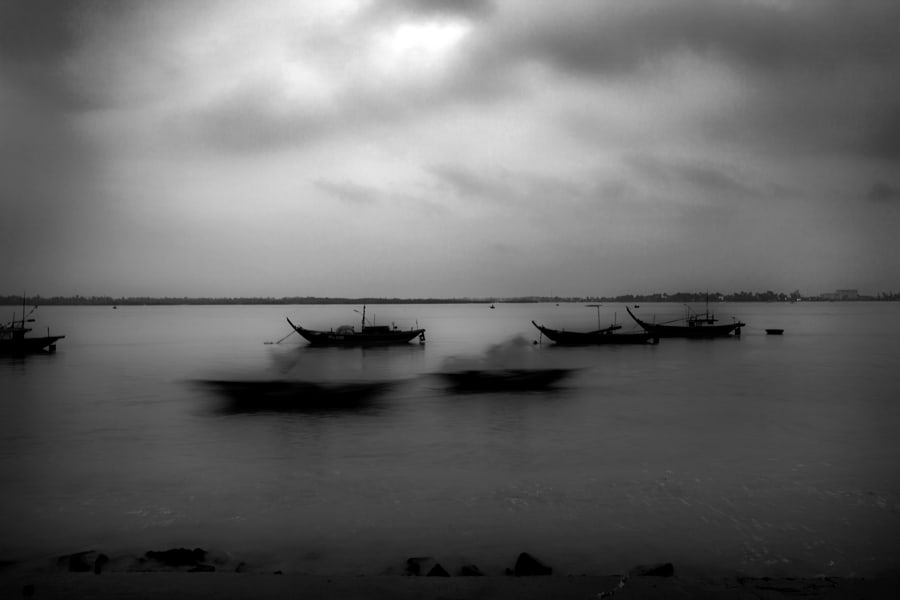
Shooting in very dark situations
Because a slower shutter speed will allow the sensor of your camera o receive light for a longer time, it can be very helpful when shooting dark scenes. In which case you will need to be using a tripod to make sure your camera isn’t moving. This is a landscape photography 101 tips, and anyone should be practising and playing with long exposures as it can be a lot of fun!
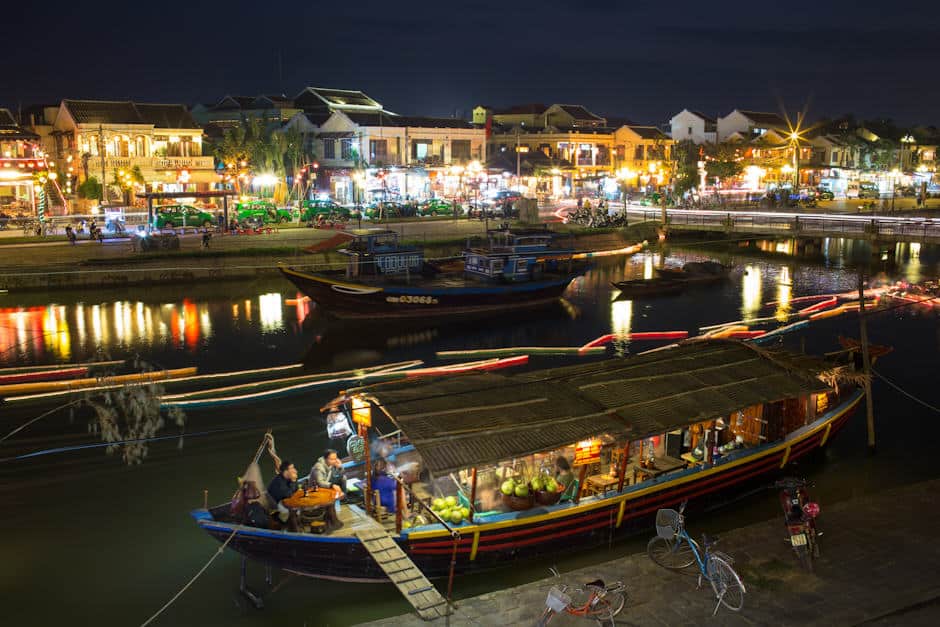
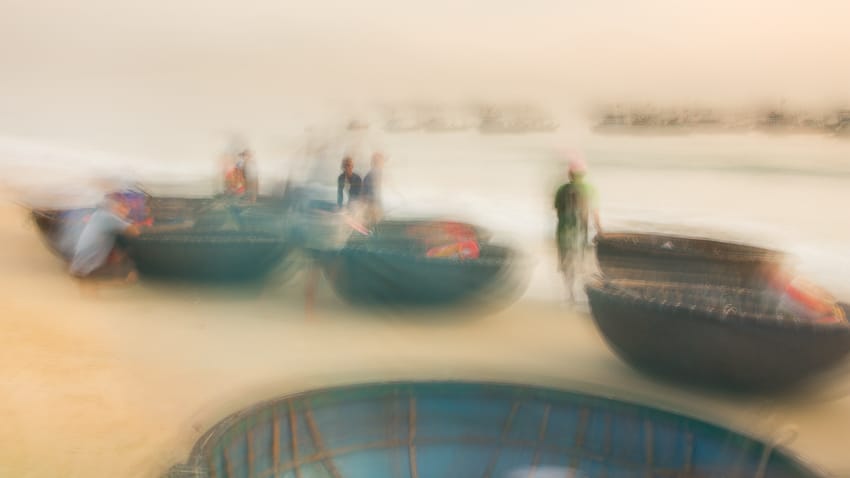
Intentional camera movement
You can check out our blog post about Intentional Camera Movement (ICM) featuring Jan.
Freeze a particular action with details
On the other hand, very fast shutter speeds will allow you to freeze the fastest moving scenes. Whether you want to freeze people throwing things in the air, water droplets, etc… this is done with the use of extremely fast shutter speeds. But these will only be able to be used when photographing bright scenes.
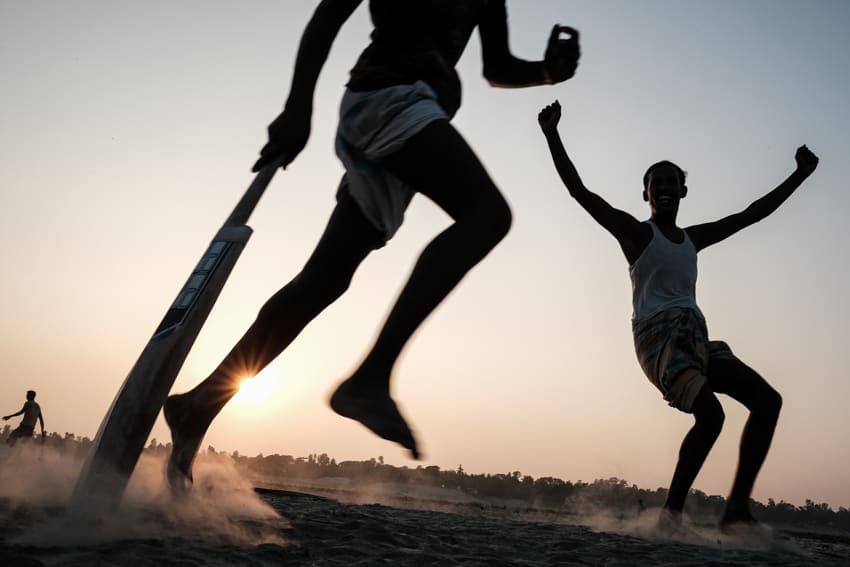
I wanted to list actually example of how you can apply different shutter speeds to specific scenes. These are scenes I have been facing over the years shooting in Asia, but there are of course many more examples that you could think of.
Using slow shutter speed to photograph fire
The thing with fire is that it moves quite fast. One would think that we’d need a very fast shutter speed to “freeze” the fire. But in reality, fire looks very weird when frozen.
Using a slower shutter speed will allow some movement in the fire thus making it look more natural.
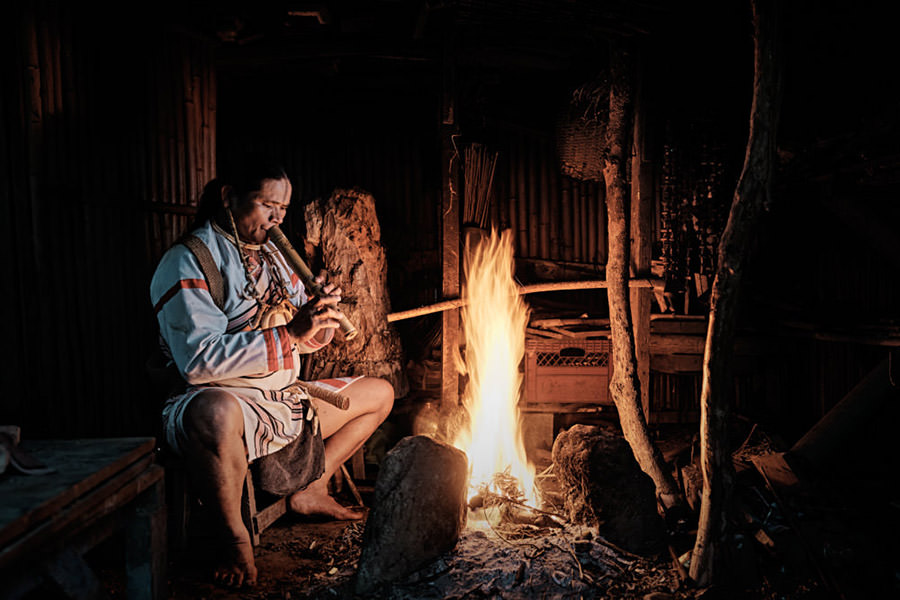
Image Copyright @Dylan Goldy
Capture dynamic party photos using slow shutter speeds
One thing that wedding photography has taught me, is that parties and people dancing look very boring when frozen. It kind of looks like people just keep their arms in the air. It seriously lacks energy. So try and use a slower shutter speed if you’d like to show dynamism and share the energy from a dynamic scene.
Using slower shutter speeds will allow you to create some blur and movement in your image, which will instantly make the viewer understand that the scene is very dynamic. It is a more creative way of shooting action and can produce fantastic results.

Using a flash and a slow shutter speed.
Another tip here is to use a flash combined with a slow shutter with the use of a flash. What this is going to produce is really cool and I have been using it quite a lot to photograph wedding parties or events.
The flash will actually freeze a certain moment in time, like, for example, someone dancing, while the slow shutter speed will add blur and dynamism to the rest of the image. You should definitely experiment different shutter speeds with different flash powers with different movements. Because the more you move, the more blur will be created in the image.

Shooting water using slow shutter speeds
Here is a great way to practise the effect of different shutter speeds on your image. If you manage to find a stream or even better, a waterfall, set up your camera on a tripod and play with different shutter speeds.
Ideally, an ND filter will allow you to dial different shutter speeds even during the day, and see what creative results you can come up with.
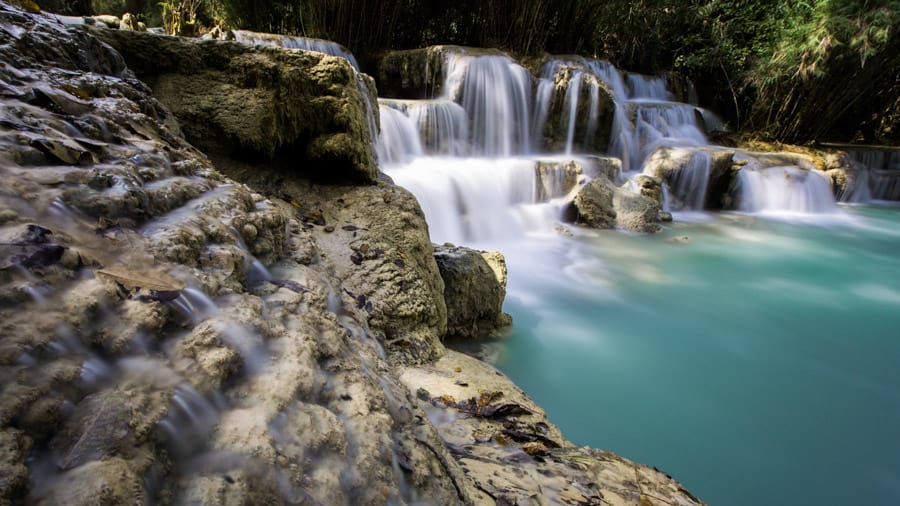
Playing with your shutter speed allows you to be very creative and capture different moods in your images. This is a great way to share feelings with your viewer, especially when taking photographs of busy scenes.

[…] Playing with slow shutter speeds will also create some nice effects with moving things (waterfall, river, clouds, tourists in the streets of Hoi An!). But it is not recommended for a night portrait, so the high ISO will be needed then. […]